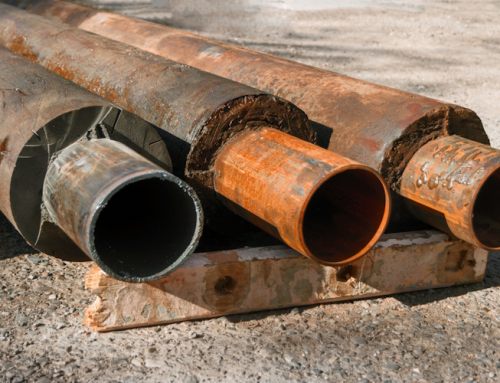
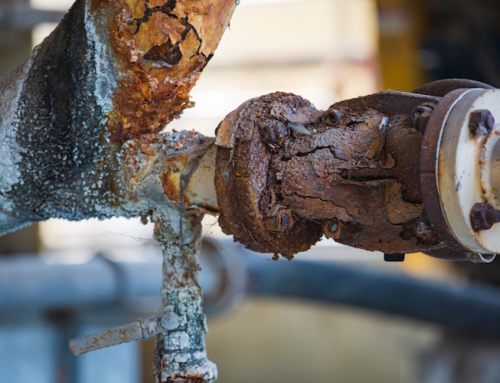
Visual Inspection (VI), or visual testing (VT), is the oldest and most basic method of inspection. Visual examination is generally used to determine such things as the surface condition of a part, alignment of mating surfaces, shape, or evidence of leaking. Visual inspection can be applied to both schedule & hygienic pipework and also for general weld situations. Optical aids such as illuminators, mirrors, borescopes, etc. can be used to enhance one’s capability of visually inspecting equipment. Cameras, computer systems, and digital image analysers can also be used to further the capabilities and benefits of visual inspection.
Here at IPEC, we routinely conduct visual inspection internally & externally on a variety of different equipment types including storage tanks, pressure vessels, piping, and other equipment. Visual inspection can also be used to determine such things as the surface condition of the part, alignment of mating surfaces, shape, or evidence of leaking.
Visual inspection is simple and less technologically advanced compared to other methods. Despite this, it still has several advantages over more high-tech methods. Compared to other methods, it is far more cost effective because there is often no equipment required; just the eyes of a knowledgeable inspector. For similar reasons, it is also one of the easiest inspection techniques to perform.
Visual inspections are generally performed as a precursor to more advanced inspection techniques that are capable of detecting flaws beyond what the human eye can see, such as subsurface cracks.
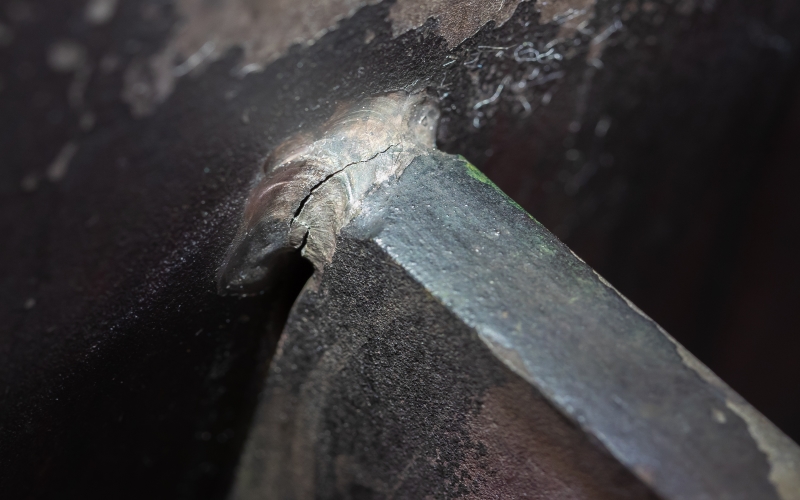
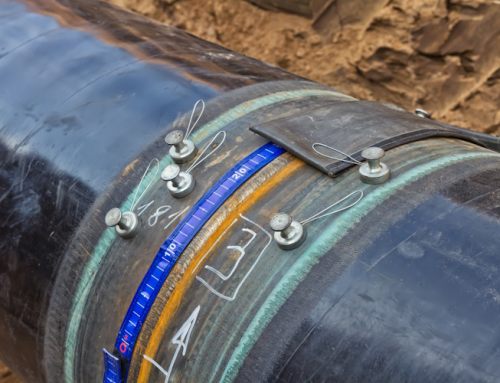
(Weld crack detected during a routine visual weld inspection)
The three most widely used visual inspection techniques would be the following;
- Direct Visual Examination
- Remote Visual Examination
- Translucent Visual Examination
Direct Visual Examination
Direct visual examination may usually be made when access is sufficient to place the eye within 600 mm & at at an angle not less than 30 deg. to the surface to be examined. Mirrors may be used to improve the angle of vision and aids such as a magnifying lens may be used to assist examinations. Illumination (natural or supplemental white light) of the examination surface is required for the specific part, component, vessel, or section thereof being examined.
Generally, the minimum light intensity should be 1076 lx (lx is the unit of illuminance of an area under examination) & the light intensity either natural or supplemental, should be measured with a white light meter prior to the examination, however this isn’t often required.
Remote Visual Examination
In some cases, remote visual examination may have to be substituted for direct examination. Remote visual examination may use visual aids such as mirrors, telescopes, borescopes, fiber optics, cameras, or other suitable instruments. Such systems should ideally have a resolution capability and light intensity at least equivalent to that obtainable by direct visual observation.
Translucent Visual Examination
Translucent visual examination is a supplement of direct visual examination. The method of translucent visual examination uses the aid of artificial lighting, which can be contained in an illuminator that produces directional lighting. The illuminator should provide light of an intensity that will illuminate and diffuse the light evenly through the area or region under examination. The ambient lighting must be so arranged that there are no surface glares or reflections from the surface under examination and shall be less than the light applied through the area or region under examination. The artificial light source shall have sufficient intensity to permit “candling” any translucent laminate thickness variations.
Page 1: Visual Inspection
Page 2: Visual Boroscope Inspection
Source/Credit: ASME V & Inspectioneering.com
Author: James Murphy, Operations Manger of IPEC Inspection Ltd.
